A Kreg jig is a tool that can be used to construct a deck. Here are some simple tips to create your first pocket hole. The first step is to line up your pocket hole pencil marks with the lines on the Kreg Jig, called the "A" and "C" lines. Next, line up the center of the wood with the corresponding mark. Once everything is lined up, clamp down the Kreg Jig to secure the wood. You can tighten the clamp by tightening the locknut.
Use a kreg-jig
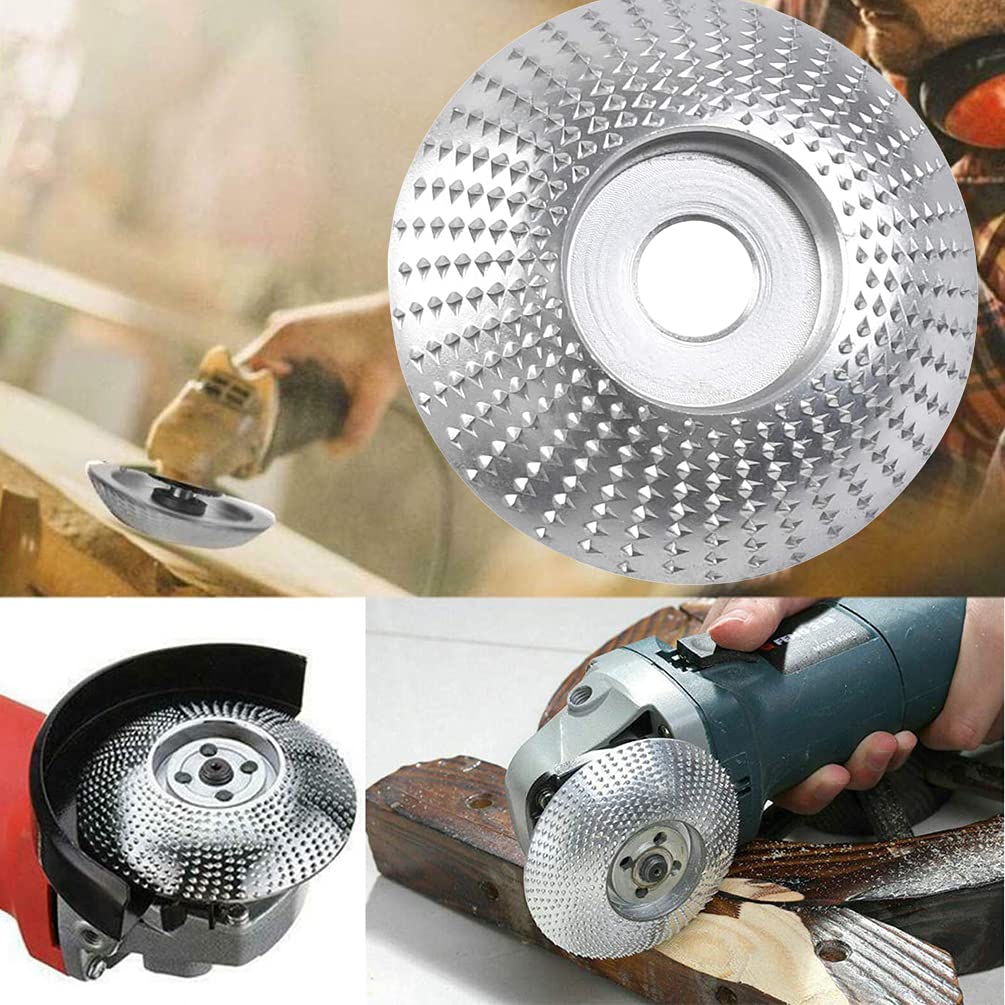
Kreg jigs are available for various woodworking projects. A Kreg jig can be used to make frame-and–panel doors. You can also use the jig to attach door trim miter joints. Additionally, the jig is useful for making bookcases and other types projects. You can purchase a variety size Kreg screws that you can use however you want.

For pocket holes, use the Kreg Jig to cut 3/4-inch thick wood. Although the name suggests that a 1x4 is a true one-by-four, it is often actually a 3/4-inch-thick board. The jig has a matching chart that shows how to adjust your screws and what the depth is of the wood.
Making pocket holes
A Kreg Pocket Hole Jig is a tool that can be used for making pocket holes in your furniture and other home projects. While most pocket hole drills use a traditional bit, the Kreg Pocket Hole Jig features a drill guide that allows you to accurately gauge the depth of the hole and the width of the opening. Simply by holding the gauge against a piece wood, the depth collar on the jig can be adjusted to accurately adjust the hole's depth. The clamp on the jig stops the pocket hole jig sliding while drilling.
You can use a Kreg jig to make your own wooden furniture. It's easy to use and create mitered frames. Online, you can find the owner's manual. This will allow you to get started. Kreg Pocket Hole Screws are required to use the Kreg Pocket Hole Jig. The jig is also useful in mitering corners to 45 degrees. It ensures that the two pieces fit together tightly.
The drill bit's depth collar should be set
You must first set the depth collar of the drill bit on a Kreg Jig before you can use it to drill holes. A depth collar can be described as a small piece, or accessory that fits within a slot on a drill bit. You can adjust the depth collar to drill the hole exactly. It comes with an Allen wrench. To adjust the depth collar, first line up the bottom edge of the thick part of the drill bit with the 3/4-inch mark on the Kreg Jig.
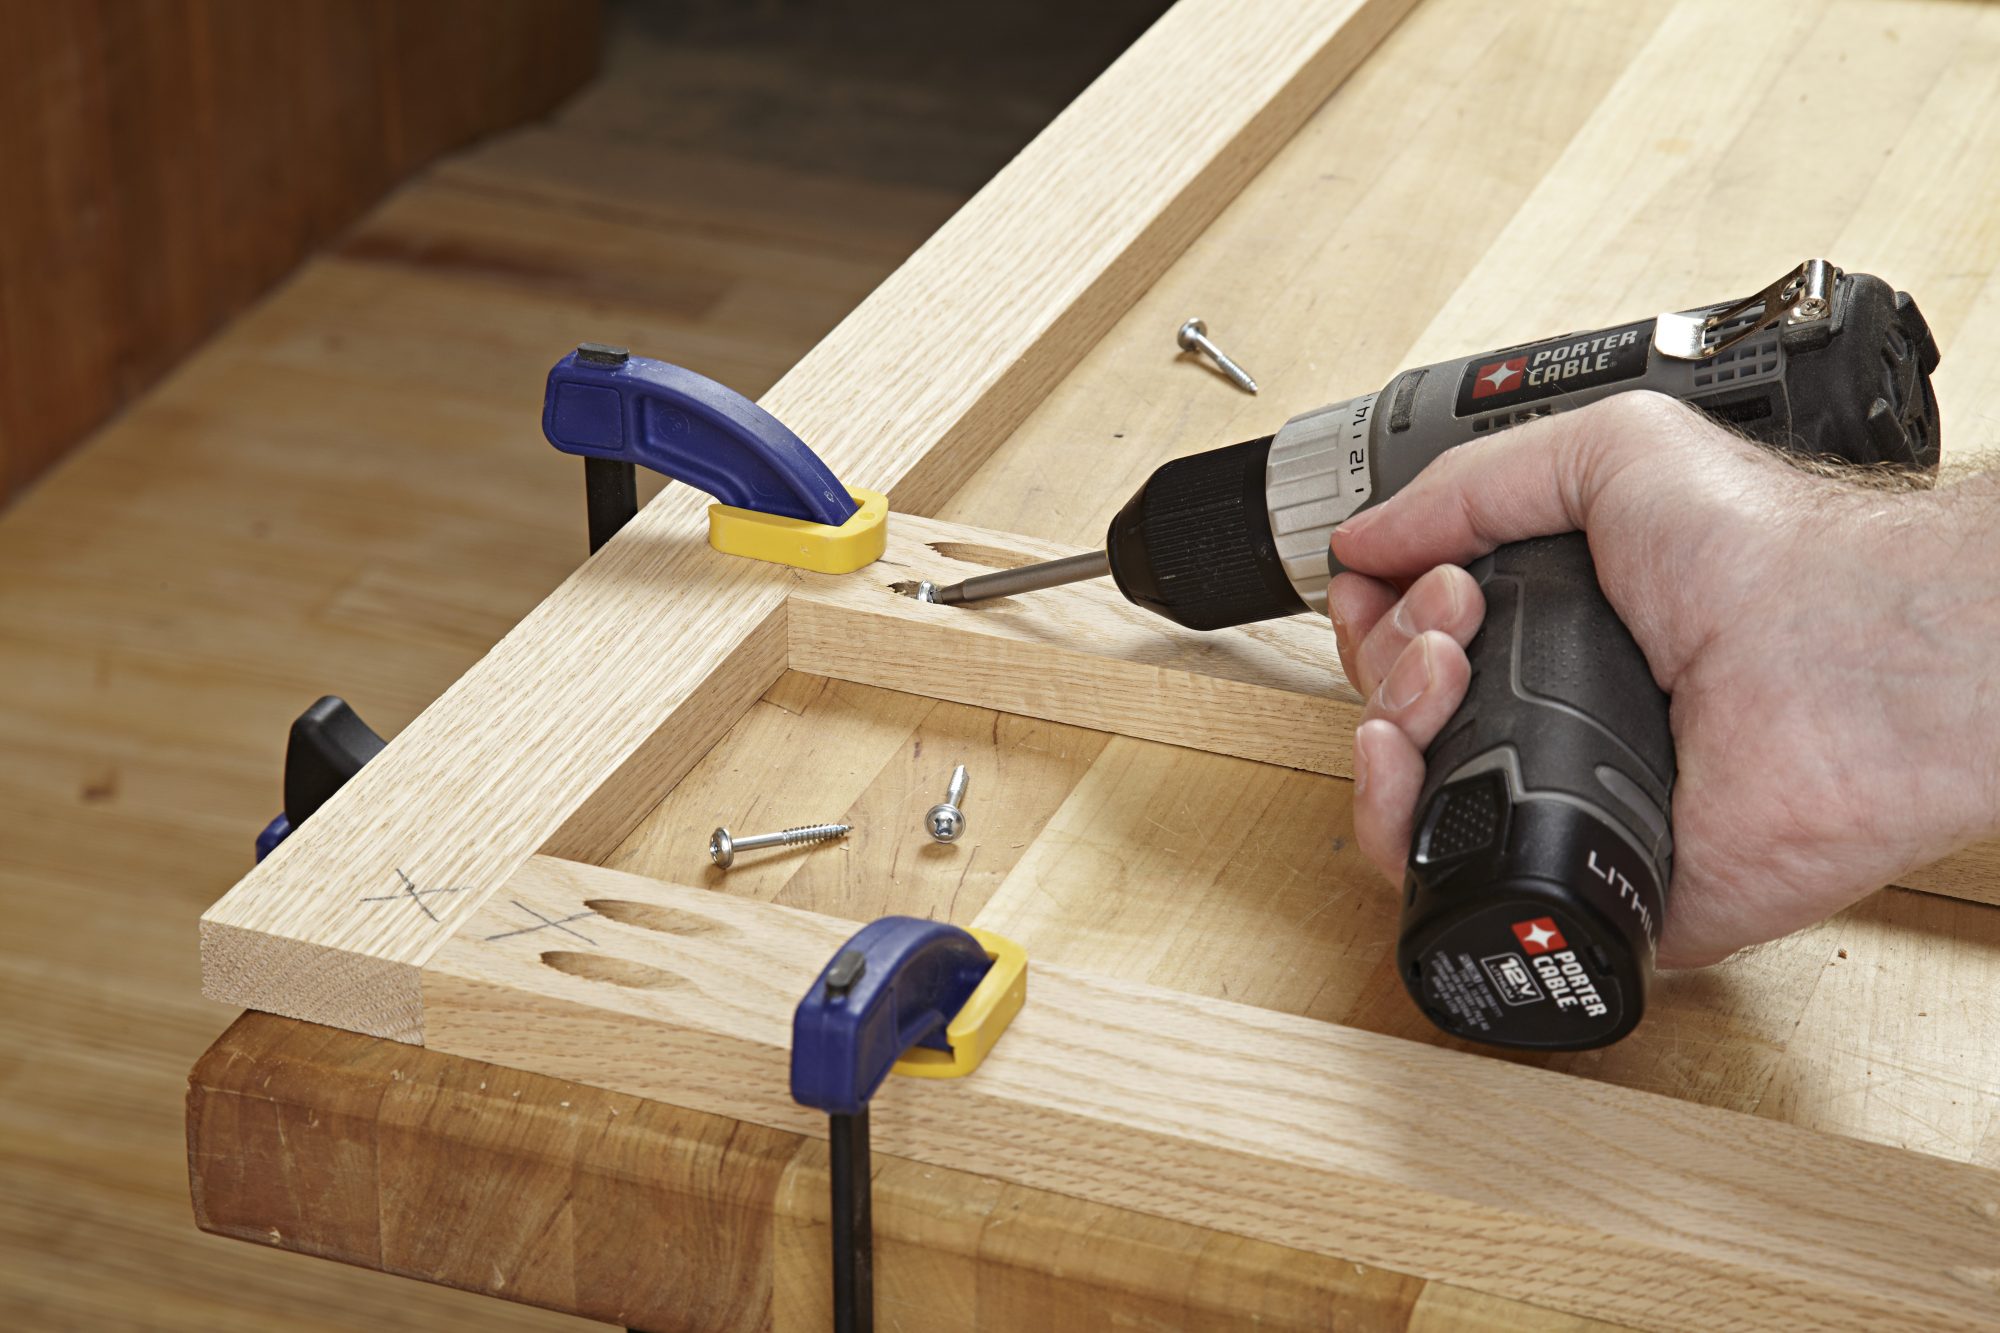
Kreg Jigs are equipped with a special, stepped drill bit as well as a depth collar for setting the hole's depth. Before drilling, the drill bit comes with a depth collar. This collar must be aligned with a guide line on the jig. Once the drill bit has been set, it will automatically stop at the appropriate depth. It is essential to use a depth-collar that is adjusted to the wood's depth and thickness.
FAQ
How can you calculate the woodworking price?
It is crucial to keep project costs as low-cost as possible. Make sure you're getting the best prices on materials. It is also important to consider the costs of other factors, such time, skill, and experience. To get an idea about the average cost for common household DIY tasks, see our guide to the average woodwork project price.
Do you have the skills to learn woodworking?
It is best to do it yourself. Woodworking is an art that takes patience, practice, skill and experience. To master any craft, it takes time.
Learning how to do something is best done by doing it. Start small and use what you learn.
What is the hourly rate for a woodworker?
The hourly rate paid to a professional woodworker is dependent on many factors. These include skill level, availability, and location.
The average hourly rate for a skilled woodworker ranges from $20-$50 an hour.
A woodworker with less experience may be able to charge $10 an hour.
How much money does a hobbyist have to put into getting started?
You will need capital to purchase the tools and supplies you need to start your woodworking business. You can start by purchasing a small table saw and drill press as well as a circular saw, circular saw, jigsaw and sanding machines. These items won't break the budget and aren't expensive.
Statistics
- In 2014, there were just over 237,000 jobs for all woodworkers, with other wood product manufacturing employing 23 percent; wood kitchen cabinets and countertop manufacturing employing 21 percent. (theartcareerproject.com)
- The best-paid 10 percent make $76,000, while the lowest-paid 10 percent make $34,000. (zippia.com)
- If your lumber isn't as dry as you would like when you purchase it (over 22% in Glen Huey's opinion…probably over 10-15% in my opinion), then it's a good idea to let it acclimate to your workshop for a couple of weeks. (woodandshop.com)
- Most woodworkers agree that lumber moisture needs to be under 10% for building furniture. (woodandshop.com)
External Links
How To
How to stain wood
Staining wood can be described as a process where chemicals are applied to the wood surface. This causes the wood to take on a new color. The wood will turn from white to brownish-red due to the chemical reaction. Oak is the most common wood type for staining. However, you can also use other wood types.
There are many options for applying stains to wood surfaces. Some methods include mixing the stain along with a solvent like turpentine and then applying the mixture to the wood by brushing or spraying. Other methods use a solution of water and dye applied directly to the wood. You can also mix stains with varnishes or paints so that they become part the finish coating.
Preparing your wood for staining is the first thing to do. To apply the stain, clean the wood completely. Sanding smoothens scratches and rough spots. The next step is to choose the stain type you want. There are two basic kinds of stains: penetrating stains and non-penetrating stains. Penetrating stains penetrate deeper than non-penetrating stains, which makes them great for dark colors like mahogany. Non-penetrating stains work best with light colors like maple.
Once you have decided on the stain type that you want, get your tools ready. The best tool for applying stains is a paintbrush. It allows you to evenly distribute the liquid over the surface. After you're done painting, make sure to have some rags handy to remove any excess stain. If you plan to mix the stain yourself, make sure you have enough containers available to hold the different components of the mixture.
Once you have prepared your materials, start by cleaning the area where you plan to stain the wood. You can remove grime and dirt with warm water and soap. Use a dampened rag and clean water to wipe the furniture. Make sure you eliminate any loose debris, especially if you plan to stain darker wood.
Apply the stain next. Apply the stain by brushing or spraying it onto one side of the furniture. Slowly and carefully work your way along the grain to reach the opposite end. You must be careful not to allow the stain to drip off the wood's edges. Before you proceed with the next steps, let the stain dry completely.
To protect the painted surface, apply a coat of clear polyurethane sealant. Apply three coats of polyurethane sealer. Allow the third coat to dry overnight before sanding the final coat.