Whittled wood can be used for many purposes. While this article is focused on carving whittled timber, it also discusses the best methods for making flowers, utensils and balls for bird cages. Here are some suggestions for beginners. Although softwoods are easiest to whittle you can progress to harder woods when you're more skilled. It is easier to whittle wood that has a straight grain than wood that has many knots or multiple directions.
Carve whittled lumber
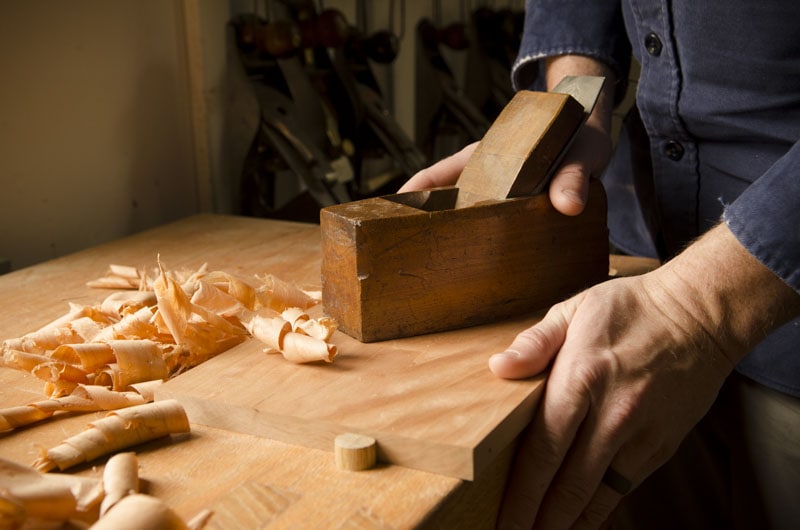
Whittling is one the easiest and most accessible methods of woodcarving. In fact, most people already own the tools needed to get started. Here are some tips and tricks to help you carve wood.
Whittling can be described as an artistic method of shaping and cutting wood. This involves removing small pieces of material from larger pieces and leaving the surface textured. Some projects are fully smoothed out while others are sanded or scraped. In each case, the process involves removing the wood material and not clamping, gluing, nor joining.

Making whittled wood utensils
Whittled wood utensils are an interesting way to use leftover pine that would otherwise go to waste. Tom made a spoon and fork from the leftover southern pine wood from a wine rack. To create the spoon and fork shapes, Tom used a touge. Other tools included the coping saw and Japanese pulling saw. Once the shape was carved, he applied a sandpaper to it and then a tack fabric to finish.
For whittling, a pocketknife should be a standard tool. Another important tool is the crook/spoon knife. If you need to cut large chunks or pieces of wood, a cutting axe and folding saw are both useful tools. Food-grade oil is also needed for finishing. It can take up an hour to finish the job so make sure you have plenty.
Whittled wood flowers
A sharp whittling blade is a good tool to use when carving a wood flower. When you're carving a flower, always keep your carving angle at about 85 degrees, and make your final cut at about 90 degrees. If you have a more difficult flower, you can repeat the process multiple times. Finally, you can display your finished flowers on a stick. You can always try another version if your first flower is not perfect.
You can add a finishing touch to your flowers with boiled linseed oils or beeswax. You can also use your gouge to achieve a better finish. Use tools that could cause damage to the wood should be avoided. Safety is always the first priority! For the petals, use different colors, and then glue a flower pin to the back. You're almost done!
Making whittled wooden balls in a box
The ball-in cage is a classic trick toy. It is a loose ball that is cut to fit into a wooden frame. For a smooth, round surface, all you need to do is measure, mark, and carve. You can also carve an additional piece of wood within the outer cage. This technique can be used to create intricate jewelry or a unique birdhouse.
Once the ball is done, it's time to shape it. For this purpose, a straight-cut chisel will be the best choice. This gives you greater control over the ball and makes it easier for you to cut along the grain. You can then remove the cage bars to shape the ball. Once the ball has taken shape, the final paring is performed. To avoid cuts getting into the hands, sharpen all woodworking tools. A pair of gloves is optional, but can be very helpful.
FAQ
How do I learn basic woodworking skills?
The best way to learn how furniture construction is to make your own bench. You can use any wood you have in your home to complete this project. If you aren't sure what type of wood to use, you can buy cheap pine boards from Lowes or Home Depot. After you've constructed your bench you'll want sand all the rough edges off and varnish it.
Where can you find free woodworking blueprints?
Woodworking plans can be found online without the need to purchase books or magazines. You only need to Google search. Simply type "free woodworking” into the search box and you'll find hundreds of websites that offer free plans.
What kind tools do carpenters use to build?
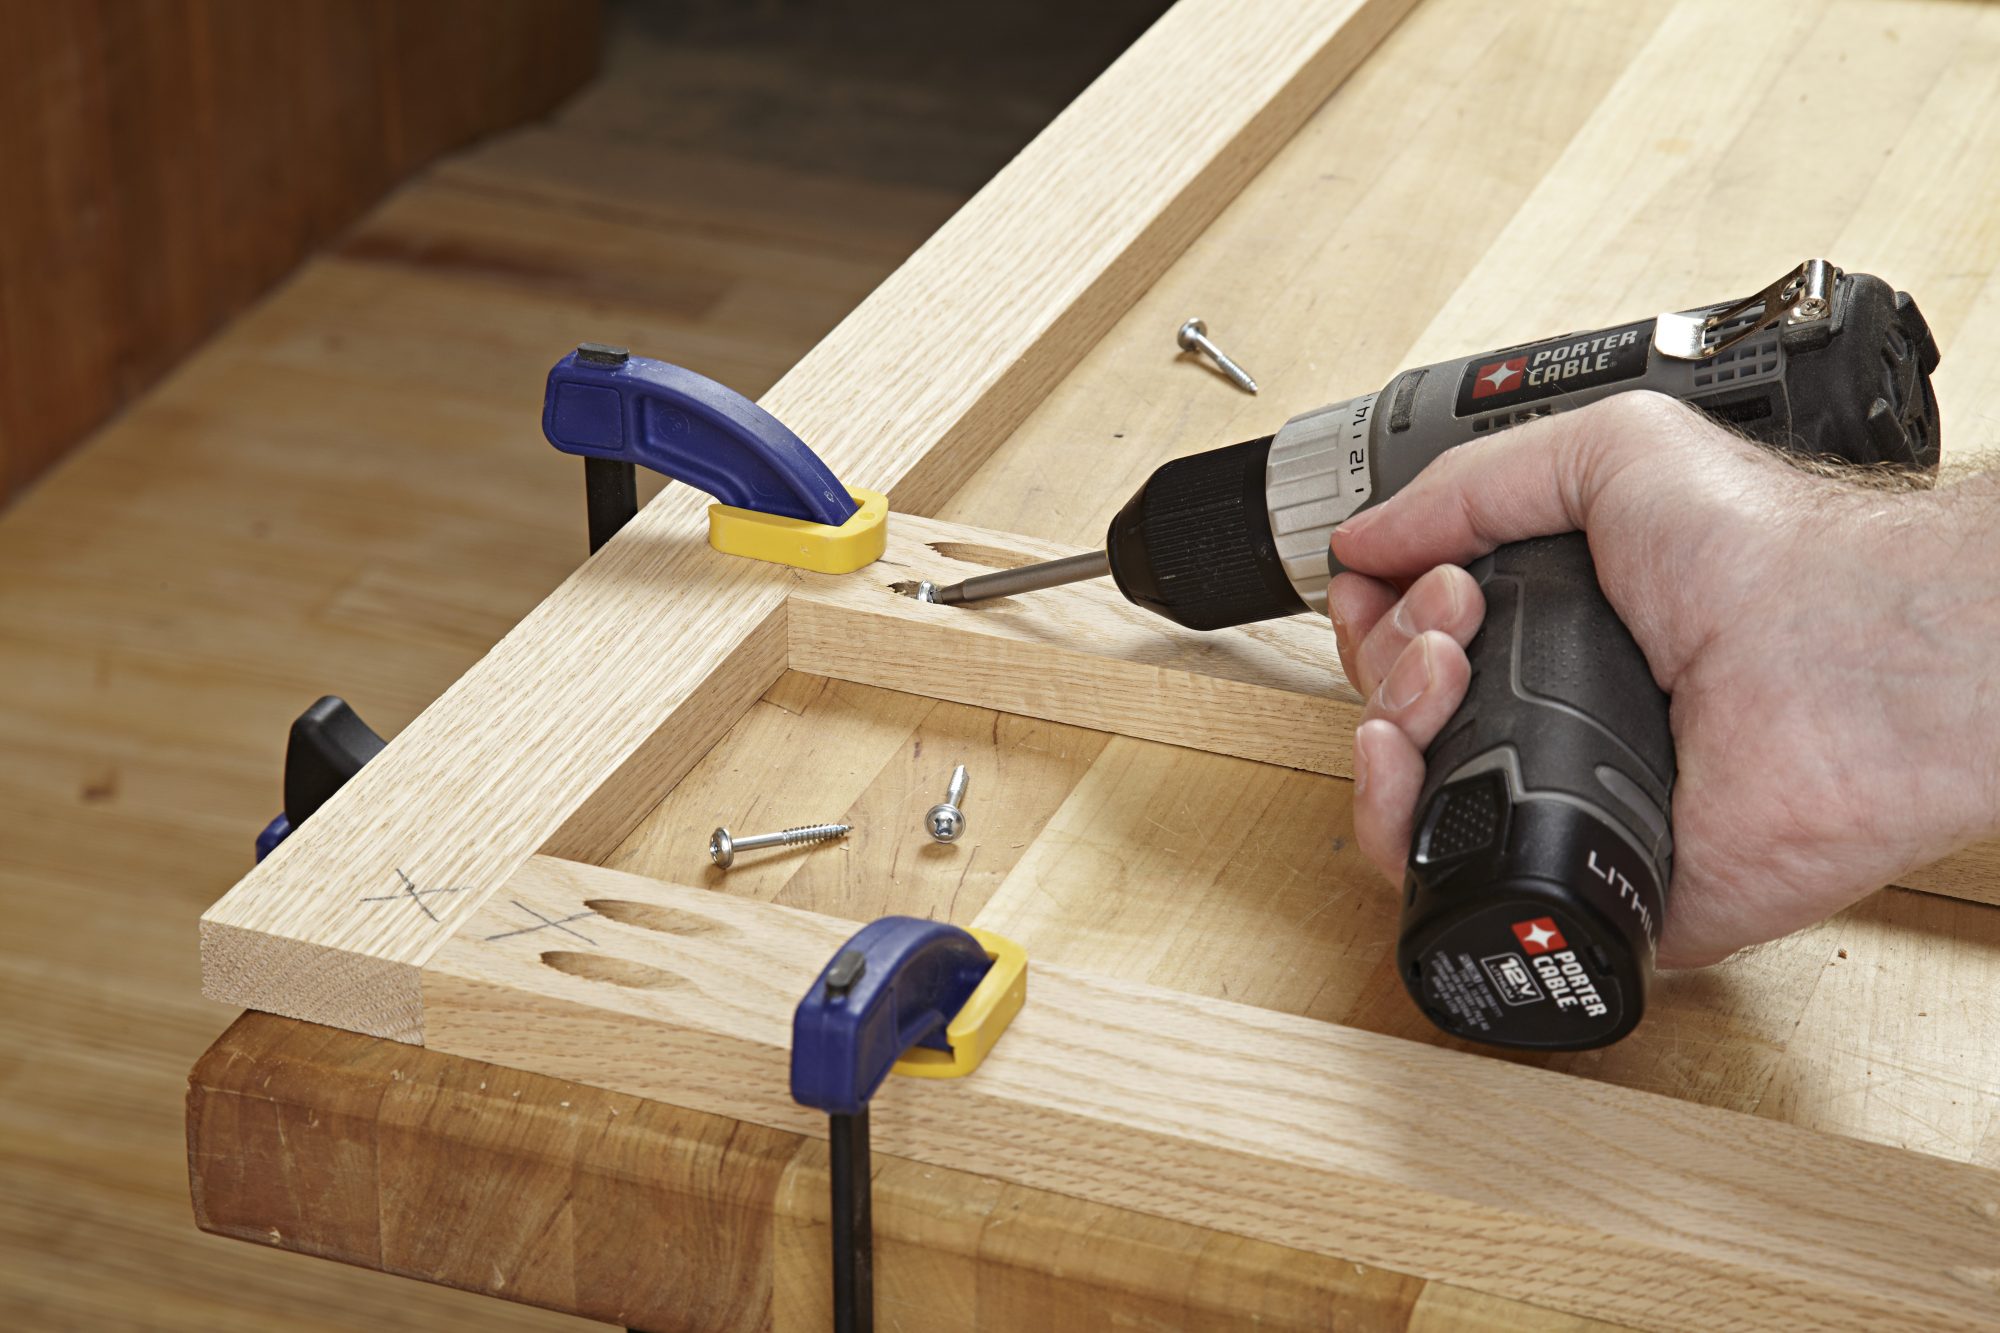
Carpenters use a hammer as their most common tool. A hammer helps to carpenter pound nails into the wood. They can also use it to hold the pieces together as they work on a project. Other tools include clamps, pliers, screwdrivers, measuring tape, pencils, saws, drills, and wrenches.
Is it difficult to start my woodworking business?
It's not easy to start your own woodworking business. There are many requirements and regulations that must be followed. It doesn't mean that you have to go through the entire process of starting a business. Many people choose to join existing businesses. This way, you only need to pay membership fees and taxes.
Where do I start with woodworking?
Building furniture is the best way to learn how furniture is made. You'll need tools, and you'll have to make mistakes along the way, but if you keep at it, you'll eventually figure out what you're doing.
First, choose a project you would like to complete. It can be as simple as a small box, or as complex as a complete entertainment center. After you have decided on a project to work on, contact a local woodworker that specializes in this type of work. Ask your local woodworker to help you determine the right tools for you and where they are located. Ask if you can find someone who does this kind work.
What kind of wood should you use?
Woodworking is a popular job that involves oak, pine and maple. Each type of wood has unique characteristics that affect the look and feel of the final product. For example, oak tends to be darker and harder than other woods. Birch is soft and light, and mahogany is denseer and heavier. You can also choose between solid wood and veneers. Veneers are thin sheets or wood that are glued together into one layer.
Statistics
- The best-paid 10 percent make $76,000, while the lowest-paid 10 percent make $34,000. (zippia.com)
- The U.S. Bureau of Labor Statistics (BLS) estimates that the number of jobs for woodworkers will decline by 4% between 2019 and 2029. (indeed.com)
- Overall employment of woodworkers is projected to grow 8 percent from 2020 to 2030, about as fast as the average for all occupations. (bls.gov)
- If your lumber isn't as dry as you would like when you purchase it (over 22% in Glen Huey's opinion…probably over 10-15% in my opinion), then it's a good idea to let it acclimate to your workshop for a couple of weeks. (woodandshop.com)
External Links
How To
How to stain wood
Staining wood is the process of applying chemicals to the wood's exterior, which alters its color. This chemical reaction causes the wood to change from white to brownish red. Although oak is the most popular type of wood to stain, there are many other types that can be used.
There are many methods to apply stain to wood surfaces. Mixing the stain in a solvent such as turpentine and spraying it onto the wood is one method. Others use a solution made up of water and dye, which is then applied directly onto the wood. The stain can be mixed with paints and varnishes to become part of the final coating.
The first step in staining wood is preparing the surface. To apply the stain, clean the wood completely. Sanding the wood smooths out rough spots and scratches. Then you must decide what kind of stain you want to use. There are two main kinds of stains available: non-penetrating stains and penetrating. Penetrating colors penetrate deeper into wood than those that are non-penetrating. This makes them more suitable for darker colors, such as mahogany. Non-penetrating oils work best when used with light colors, like maple.
After deciding on the type of stain, you want to apply, prepare your tools. You can use a paintbrush to apply stains. This allows you spread the liquid evenly over the surface. It is a good idea to have rags on hand in case you need them to clean up any stains that may remain after you have finished painting. If you plan to mix the stain yourself, make sure you have enough containers available to hold the different components of the mixture.
After you have prepared your materials, clean the area you intend to stain. To remove dirt and dust, use warm water and soap. Use a dampened sponge and warm water to clean the entire piece. You should remove any debris, especially if your plan is to stain darker wood.
Apply the stain. Start at one end of the piece of furniture and brush or spray the stain onto the wood. Slowly and carefully move along the grain of wood, slowly but steadily, until you reach the other end. You must be careful not to allow the stain to drip off the wood's edges. Before proceeding to the next step, let the stain dry thoroughly.
Apply a clear polyurethane sealant to protect the painted surface. Three coats are recommended for polyurethane. Let the third coat dry overnight before you sand the final coat.